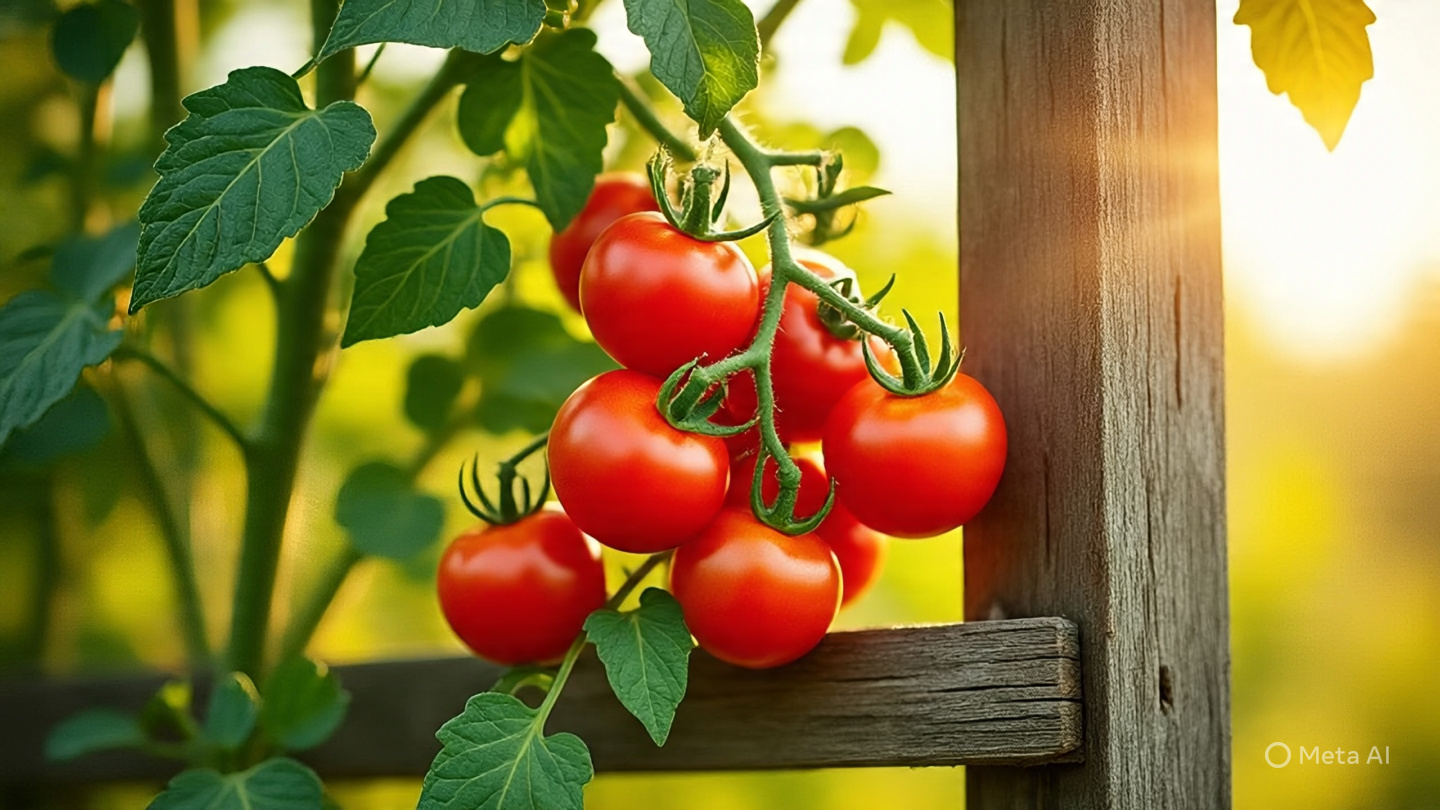
Grow Your Own Vining Tomatoes
There’s nothing quite like the taste of a homegrown tomato, and growing them yourself is one of the most satisfying gardening experiences! Whether you’re a complete novice or have a green thumb, cultivating vining (indeterminate) tomatoes can provide you with a steady, season-long supply of delicious, fresh fruit for all your culinary needs.
What makes vining tomatoes special is their continuous growth and fruit production, unlike bush varieties that produce a single crop. But to get the most out of these prolific plants, they’ll need proper support, strategic pruning, and consistent care.
In this guide, you’ll discover:
- Which vining tomato varieties are best for your garden
- The secrets to planting and training your vines for a fantastic yield
- Key advice on watering, fertilizing, and keeping pests at bay
- When and how to harvest for the best flavor
Indeterminate vs. Determinate: Why Your Tomato Variety Matters
Not all tomatoes are created equal when it comes to growth habit. If your goal is long, continuous growth and a steady supply of fruit throughout the season, you must choose indeterminate varieties. These are the true vining tomatoes that keep producing until frost.
Conversely, if a compact plant that yields all its fruit at once is what you’re trying to avoid, then steer clear of determinate (bush) varieties.
Here are some excellent indeterminate choices to consider:
- Cherry Tomatoes: (e.g., ‘Sungold’, ‘Sweet Million’) – Expect a high yield of sweet, pop-in-your-mouth fruits, perfect for snacking and salads.
- Heirloom Tomatoes: (e.g., ‘Brandywine’, ‘Cherokee Purple’) – Prized for their deep, complex flavors and often large, visually stunning fruits.
- Paste Tomatoes: (e.g., ‘San Marzano’, ‘Roma’) – These varieties are less watery and more solid, making them the top choice for cooking, canning, and making sauces.
Getting Started: Seeds or Pre-Grown Seedlings?
Ready to get those tomato vines going? You can either nurture them from tiny seeds or pick up a few healthy young plants from a garden center.
Nurturing from Seeds (Indoors)
Starting your own tomato seeds indoors offers a wide choice of varieties and a true sense of accomplishment.
- When to Start: Sow your seeds about 6 to 8 weeks before the last frost date in your area.
- The Right Setup: Use seed trays with good drainage and a specialized seed-starting mix.
- Light & Warmth are Key: Place your trays in a consistently warm spot, ideally under grow lights, or a very bright, sunny window to prevent stretching.
- Outdoor Transition: Once your young plants have developed 2 to 3 sets of their “true” leaves (not the initial round), they’re ready to be carefully transplanted outside.
Picking Up Seedlings
Short on time or space? Buying ready-to-plant seedlings is a convenient option. When you’re at the nursery, be a picky shopper! Look for:
- Strong, Stocky Stems: Skip the tall, spindly ones. Stockier stems mean a healthier plant.
- Lush, Green Leaves: The leaves should be a rich green, not pale or yellow.
- Clean Bill of Health: Give them a good once-over to ensure there are no unwelcome pests or signs of disease.
Get Your Soil Ready for Thriving Tomatoes!
Great tomatoes start with great soil! These hungry plants love rich, well-draining soil with a pH level between 6.0 and 6.8 – think slightly acidic to neutral.
Here’s how to set your tomato patch up for success:
- Feed Your Soil: Dig in plenty of compost or aged manure. This organic matter is like superfood for your soil, providing nutrients and improving its overall texture.
- Improve Drainage: Is your soil feeling a bit heavy? If it’s too dense, mix in some perlite or coarse sand. Good drainage is vital to prevent soggy roots.
- Mulch for Moisture & Weeds: Once your tomatoes are in the ground, lay down a nice layer of mulch (like straw or wood chips). It’ll keep the soil moist and stop those pesky weeds from popping up.
Gardener’s Insight: Remember to rotate your crops! Don’t plant tomatoes in the same spot where you grew peppers, eggplants, or potatoes last year. They’re all related and can share the same diseases, which you want to avoid!
Here are a few improved versions of the “Planting Tomato Vines for Strong Growth” section:
Planting Tomato Vines for a Robust Start
Proper planting sets the stage for strong, productive tomato vines. Follow these steps to ensure your plants develop a robust root system.
Step-by-Step Planting Guide:
- Dig Deep and Bury the Stem: When planting, dig a hole deep enough to bury approximately two-thirds of the plant, including a portion of the stem. This technique encourages the buried stem to develop additional roots, leading to a much stronger and more stable plant.
- Ensure Proper Spacing: For optimal air circulation and to allow for ample growth, space your tomato plants 24–36 inches (60-90 cm) apart. Good airflow helps prevent fungal diseases.
- Water Immediately After Planting: Once planted, thoroughly water each tomato plant. This helps settle the soil around the roots and reduces transplant shock.
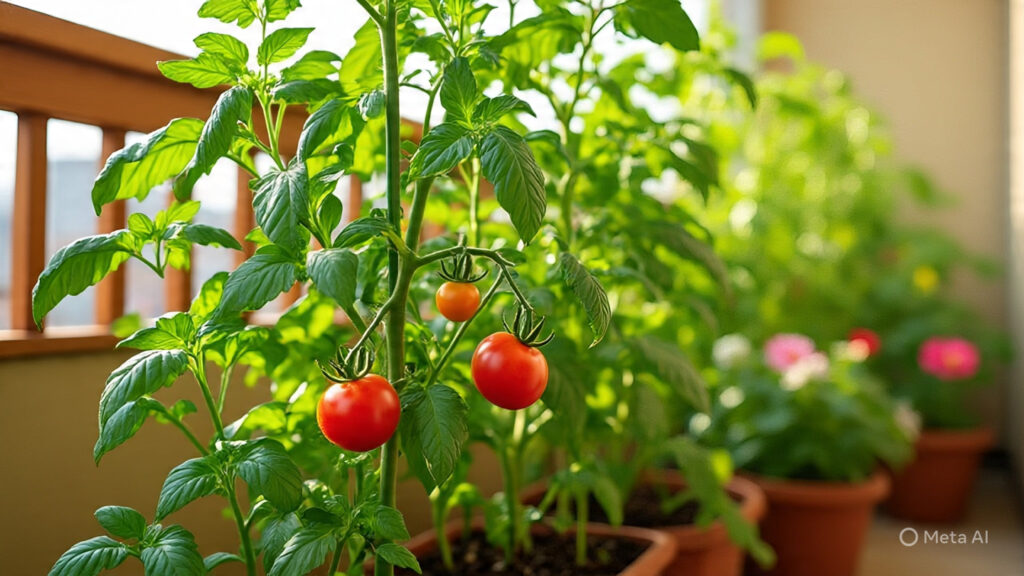
For Container Growing:
If you’re growing in containers, choose pots that are at least 5-gallon (19-liter) capacity or larger. Ensure your containers have ample drainage holes to prevent waterlogging.
Watering Tomato Vines the Right Way
Proper watering is crucial for healthy tomato plants and a bountiful harvest. Inconsistent moisture, whether too much or too little, can lead to common problems like cracked tomatoes or blossom end rot.
Best Practices for Watering:
- Water Deeply and Consistently: Aim to water your tomato plants 2–3 times per week, ensuring the water penetrates deep into the soil. In periods of extreme heat or drought, you may need to water more frequently.
- Keep Leaves Dry: Always try to avoid wetting the leaves when you water. Wet foliage creates an ideal environment for fungal diseases to develop and spread. Focus on delivering water directly to the soil around the base of the plant.
- Consider Drip Irrigation: For the most efficient and consistent moisture delivery, drip irrigation is highly recommended. It delivers water slowly and directly to the root zone, minimizing waste and keeping foliage dry.
Spotting Watering Issues:
- Signs of Underwatering: If your plants aren’t getting enough water, you’ll typically notice wilting leaves and visibly dry, often cracked, soil around the base.
- Signs of Overwatering: Conversely, yellowing leaves (especially lower ones) and soggy, waterlogged soil are indicators that your tomatoes are receiving too much water.
Supporting Tomato Vines: Trellises, Cages & Stakes
Since indeterminate tomato vines can reach impressive heights of 6–10 feet (1.8-3 meters), providing sturdy support is essential for healthy growth and abundant fruit production. Without proper support, heavy fruit can cause stems to break, or plants can sprawl unmanageably.
Best Support Methods:
- Tomato Cages: Often favored by beginners, traditional tomato cages offer circular support. While convenient, larger indeterminate varieties may require reinforcement or additional staking as they grow to prevent them from toppling over.
- Trellises: An excellent choice for maximizing space, trellises allow for vertical growth and can be made from various materials like netting, wire, or wooden lattices. They promote good airflow and make harvesting easier.
- Stakes & Twine: This method is cost-effective and highly effective but requires ongoing attention. Simply drive a sturdy stake (wood or metal) next to the plant and use soft twine or fabric strips to gently tie the growing vine to the stake every 12-18 inches (30-45 cm) as it ascends.
Train Vines Early:
Regardless of the method you choose, begin training your tomato vines early. Gently guide the growing stems onto or around your chosen support system when they are still young and pliable. This prevents tangled, unmanageable growth and makes future maintenance much simpler.
Pruning Tomato Vines for Bigger Harvests

Pruning your indeterminate tomato vines is a crucial step for a healthier plant and a more abundant harvest. This practice helps improve airflow, which significantly reduces the risk of disease, and directs the plant’s energy specifically towards fruit production rather than excessive leafy growth.
What to Prune:
- Suckers: These are the small shoots that emerge in the “armpit” (the crotch) between the main stem and a side branch. If left to grow, suckers will develop into full stems that produce flowers and fruit, but they can divert energy from the main plant and lead to an overcrowded bush. Pinch or snip them off when they are small.
- Lower Leaves: As your plant grows, remove the leaves closest to the ground, especially those touching the soil. This prevents soil-borne diseases from splashing onto the foliage during watering or rain.
- Excess Foliage: If your plant becomes very dense, selectively remove some interior leaves to improve air circulation. Be careful not to over-prune, as leaves are essential for photosynthesis! The goal is to open up the plant, not strip it bare.
Pro Tip: Always use clean, sharp scissors or pruning shears when making cuts. This minimizes damage to the plant and reduces the chance of introducing diseases
Pest & Disease Control for Healthy Tomato Vines

Keeping your tomato vines free from pests and diseases is key to a successful harvest. A proactive approach will help ensure your plants thrive.
Common Tomato Pests and Their Control:
- Aphids: These tiny, soft-bodied insects can quickly multiply. Combat them by spraying affected areas with soapy water (a few drops of dish soap in a spray bottle of water) or neem oil, which acts as a natural insecticide.
- Tomato Hornworms: Large, green caterpillars with a distinctive “horn” on their rear. These voracious eaters can defoliate a plant quickly. The most effective method is hand-picking them off your plants. For larger infestations, consider using BT (Bacillus thuringiensis), an organic bacterium that specifically targets caterpillars.
- Whiteflies: Small, white, winged insects that cluster on the undersides of leaves. Yellow sticky traps are an excellent way to monitor and reduce their population.
Preventing Diseases:
Prevention is always better than cure when it comes to plant diseases.
- Rotate Crops Annually: Do not plant tomatoes (or related crops like peppers, eggplants, or potatoes) in the same spot year after year. Crop rotation disrupts disease cycles and reduces pathogen buildup in the soil.
- Avoid Overhead Watering: As mentioned earlier, water at the base of the plant and avoid wetting the foliage. Wet leaves provide an ideal environment for fungal and bacterial diseases to take hold.
- Promptly Remove Infected Leaves: Regularly inspect your plants. At the first sign of disease (e.g., spots, wilting, discoloration), immediately prune and dispose of infected leaves or branches to prevent the spread to other parts of the plant. Do not compost diseased material.
Companion Planting Tip:
Leverage the power of nature! Planting certain companions nearby can naturally deter pests:
- Basil: Believed to repel flies and hornworms.
- Marigolds: Their roots release compounds that can deter nematodes and other soil-borne pests.
- Garlic: Known for its strong scent, which can confuse or repel various insects.
Harvesting & Storing Tomatoes
Knowing when to pick your tomatoes and how to store them properly ensures you enjoy their peak flavor and freshness.
When to Pick Your Tomatoes:
To get the best taste and texture, harvest your tomatoes when they meet these criteria:
- Fully Colored: The fruit should have reached its full, mature color, whether that’s a vibrant red, sunny yellow, or deep purple, depending on the variety.
- Slightly Soft to the Touch: Gently squeeze the tomato; it should yield slightly but still feel firm. If it’s rock hard, it’s not ready. If it’s mushy, it’s overripe.
- Easily Detaches from the Vine: A ripe tomato will detach easily from the stem with a gentle twist. Don’t pull or yank, as this can damage the vine or the fruit.
Storing Your Harvest:
A crucial rule for maintaining flavor: never refrigerate your tomatoes! Cold temperatures break down the membranes inside the fruit, ruining their texture and significantly diminishing their delicious taste.
Instead, store harvested tomatoes at room temperature on your counter or in a bowl, away from direct sunlight. They’ll continue to ripen slightly and maintain their best flavor for several days. If you have a large harvest, consider processing them into sauces, salsas, or canning them for longer storage.
Bonus Tips for Bigger, Tastier Tomatoes
Ready to take your tomato harvest to the next level? These extra tips can help you achieve even larger, more flavorful fruit and ensure a successful future for your tomato patch.
- Consistent Fertilization: To fuel continuous growth and fruit production, fertilize your tomato plants every two weeks with a tomato-specific fertilizer. Look for one that’s high in phosphorus (P), which supports flowering and fruiting.
- Hand-Pollination for Better Set: In areas with low wind or few pollinators, you can assist nature by hand-pollinating your tomato flowers. Simply gently shake the plant or lightly tap each flower cluster daily when the flowers are open. This helps release pollen and encourages fruit set.
- Save Your Best Seeds: Want to grow your favorite tomatoes again next year? Save seeds from your healthiest, most delicious, and best-performing open-pollinated (non-hybrid) tomatoes. This is a rewarding way to preserve your favorite varieties and ensure a continuous supply for future seasons.
Leave a Reply